
A lot of people have been PM me with questions on how I did this and that so It shows the video was not detailed enough so here's a list of what I did and how i did it:
this is the video I made for a member here
http://www.youtube.com/watch?v=FaC8ikLCiaY&feature=youtu.be
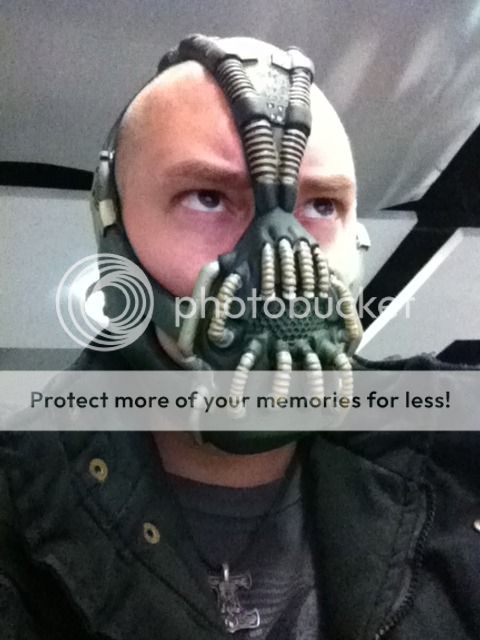
This is how the mask looked when i first got it:

So... right after I padded the insides using foam sheets:
1-) Using an exacto knife and with REAL care and SLOW movements I removed the sidemost pipes, the 4 thick tubes around the mouth and dremeled, using a sanding drum in high speed, the excess material. I then sanded the parts down with a soft grit sandpaper so leave the surface smooth. I then made the holes on the connectors using the cone shaped sanding stone bit in high speed.
This will not only drill the material out but after a few seconds it will melt the rubber as well so you need to remove the excess fast before it cools off. Be careful not to over do it and ruin the connector piece.
2-) Using hot glue bars I cut them in 3 parts in the correct sizes and angles (each tube and pipe is made of 3 pieces glued together in angles) and when I had made sure they had the right size and angle I heated the sides and glued them to each other (just a tad of heat will do it without melting it too much and creating excess in the angles)
the 4 around the mouth grill where covered in a type of fabric that remind me of how the tubes looked like in the movie, the fabric would be better I know, but it's what i had and made them look way better, I know you can find something even better for them.
The fabric was glued to the assembled pipes with superbonder flex gel (the one with latex infusion) and the fabric stripes had triangle shaped cuts in the angles to allow it to be glued without excess fabric in these areas.
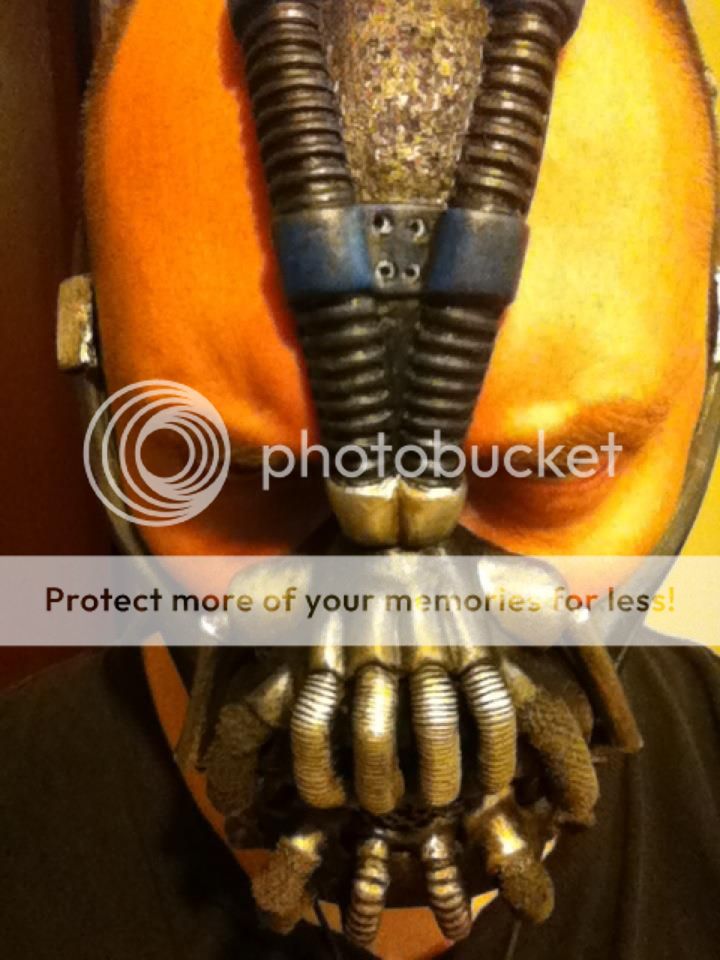
3-) Using a type of 2 parts epoxy modeling clay (used to patch holes and leaks in pipes at home) that hardens to a rock in 10 minutes I molded the new nose sidemost connectors over the mask ones since they're way to look in it. This epoxy will not stick to the rubber so I had to use a mix of E-6000 and superbonder flex for it.
I then proceeded to mold the nose-forehead bridge connector since the one in the mask is too small. it was glued in the same fashion.
4-) I then glued the pipes and tubes to the connectors in the mask using E-6000. (I used a generous amount on each connector.)
5-) Not following the correct logic I spayed a misting of black Krylon Fusion over the entire mask (with a thicker appliance over the top looms as that yellow silver color is horrible!).
once dry I used acrylics for the weathering, with a mixture of blues, browns and boltgun metal each added where I thought was needed according to the picture I was using for reference. the silver and chrome and blue tabs for the top looms is nail enamel dabbed over the pieces and rubbed over with my finger. This will thin it all round and prevent it from breaking with movement of the rubber.
Up to this point I thought I was just going to leave the mask as it was and perhaps sell it and buy a more accurate one like the Gotham FX v2 BUT when I saw the GCFX V2 had the same damned problem with the sidemost nose connectors way too low I decided to mold the front top maw tubes as that was what annoyed me the most from this mask. so...
6-) using the same epoxy putty I measured 4 exact amounts of this material (1 for each tube) and started by molding the middle left one. I had problems with this one because I didn't had something to mold the line recesses in the tube and I spend too much time making sure the correct angled shape was there... The material started hardening and by the time I found something to make the stripes it was too late to make them deep enough. I need to fix this one.
I then molded the front most left one, followed by the sidemost right one and then ending in the leftmost one. the reason for this is that you want the material top end the curing process as far from the one you are working on to avoid boo-boos.
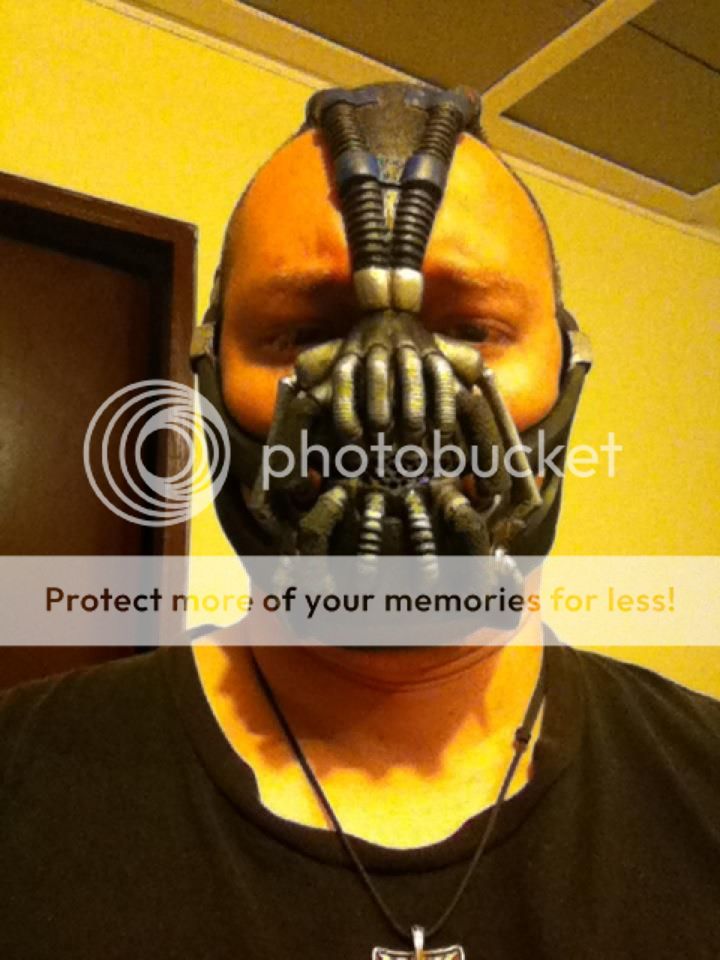
7-) using a fine strip of this epoxy putty I made the grill-tube connector base borders. both on the top and bottom. It's important to note that at least to me, this very small detail really made the mask look "legit" (i can't find a more suitable word)
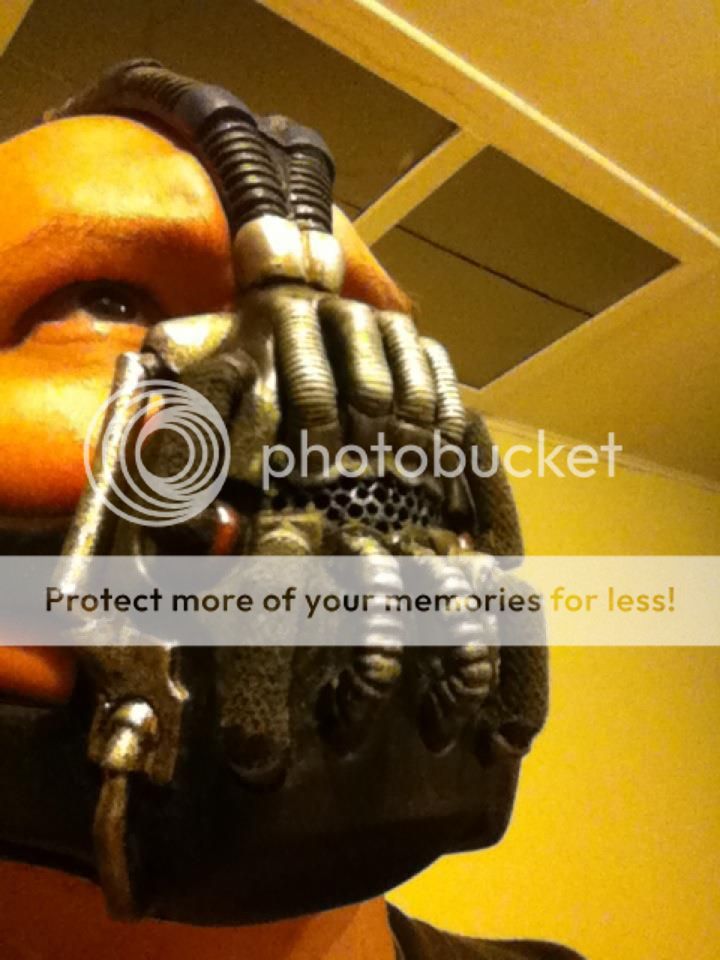
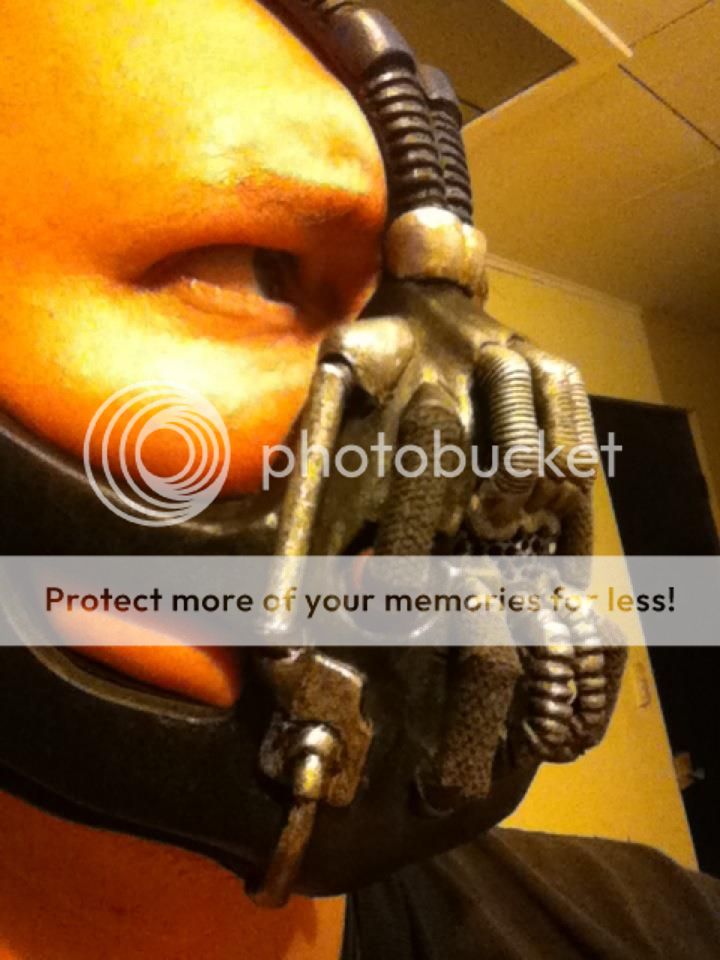
I then painted the sculpted pieces with nail enamel chrome and finished it with a wash of black acrylic, some brown weathering on the connectors and then proceeded to mist the entire mask with satin finish clear sealant paint.
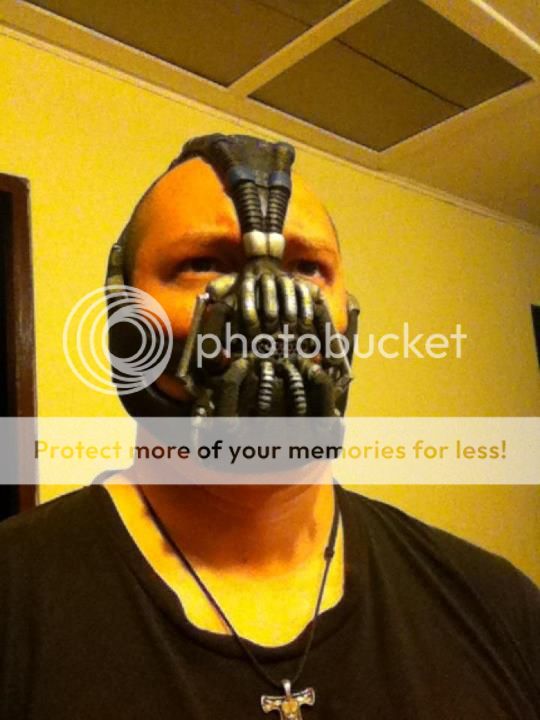
Ta-Dah!!
Hope this will help everyone!!!
this is the video I made for a member here
http://www.youtube.com/watch?v=FaC8ikLCiaY&feature=youtu.be
This is how the mask looked when i first got it:
So... right after I padded the insides using foam sheets:
1-) Using an exacto knife and with REAL care and SLOW movements I removed the sidemost pipes, the 4 thick tubes around the mouth and dremeled, using a sanding drum in high speed, the excess material. I then sanded the parts down with a soft grit sandpaper so leave the surface smooth. I then made the holes on the connectors using the cone shaped sanding stone bit in high speed.
This will not only drill the material out but after a few seconds it will melt the rubber as well so you need to remove the excess fast before it cools off. Be careful not to over do it and ruin the connector piece.
2-) Using hot glue bars I cut them in 3 parts in the correct sizes and angles (each tube and pipe is made of 3 pieces glued together in angles) and when I had made sure they had the right size and angle I heated the sides and glued them to each other (just a tad of heat will do it without melting it too much and creating excess in the angles)
the 4 around the mouth grill where covered in a type of fabric that remind me of how the tubes looked like in the movie, the fabric would be better I know, but it's what i had and made them look way better, I know you can find something even better for them.
The fabric was glued to the assembled pipes with superbonder flex gel (the one with latex infusion) and the fabric stripes had triangle shaped cuts in the angles to allow it to be glued without excess fabric in these areas.
3-) Using a type of 2 parts epoxy modeling clay (used to patch holes and leaks in pipes at home) that hardens to a rock in 10 minutes I molded the new nose sidemost connectors over the mask ones since they're way to look in it. This epoxy will not stick to the rubber so I had to use a mix of E-6000 and superbonder flex for it.
I then proceeded to mold the nose-forehead bridge connector since the one in the mask is too small. it was glued in the same fashion.
4-) I then glued the pipes and tubes to the connectors in the mask using E-6000. (I used a generous amount on each connector.)
5-) Not following the correct logic I spayed a misting of black Krylon Fusion over the entire mask (with a thicker appliance over the top looms as that yellow silver color is horrible!).
once dry I used acrylics for the weathering, with a mixture of blues, browns and boltgun metal each added where I thought was needed according to the picture I was using for reference. the silver and chrome and blue tabs for the top looms is nail enamel dabbed over the pieces and rubbed over with my finger. This will thin it all round and prevent it from breaking with movement of the rubber.
Up to this point I thought I was just going to leave the mask as it was and perhaps sell it and buy a more accurate one like the Gotham FX v2 BUT when I saw the GCFX V2 had the same damned problem with the sidemost nose connectors way too low I decided to mold the front top maw tubes as that was what annoyed me the most from this mask. so...
6-) using the same epoxy putty I measured 4 exact amounts of this material (1 for each tube) and started by molding the middle left one. I had problems with this one because I didn't had something to mold the line recesses in the tube and I spend too much time making sure the correct angled shape was there... The material started hardening and by the time I found something to make the stripes it was too late to make them deep enough. I need to fix this one.
I then molded the front most left one, followed by the sidemost right one and then ending in the leftmost one. the reason for this is that you want the material top end the curing process as far from the one you are working on to avoid boo-boos.
7-) using a fine strip of this epoxy putty I made the grill-tube connector base borders. both on the top and bottom. It's important to note that at least to me, this very small detail really made the mask look "legit" (i can't find a more suitable word)
I then painted the sculpted pieces with nail enamel chrome and finished it with a wash of black acrylic, some brown weathering on the connectors and then proceeded to mist the entire mask with satin finish clear sealant paint.
Ta-Dah!!
Hope this will help everyone!!!
")


