
spida-man
THE AMAZING
- Joined
- Jun 18, 2006
- Messages
- 3,913
- Reaction score
- 18
- Points
- 58
A couple more pics for you guys
 kick @$$!!
A couple more pics for you guys
kick @$$!!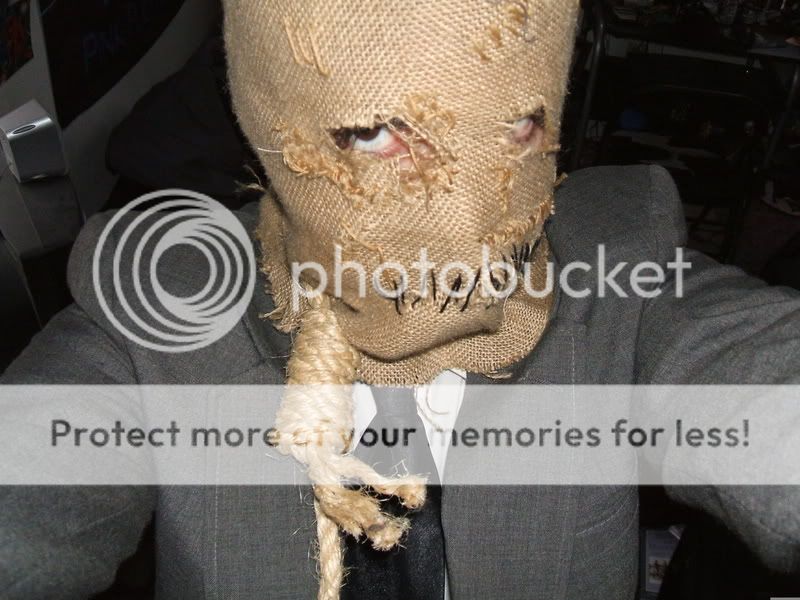

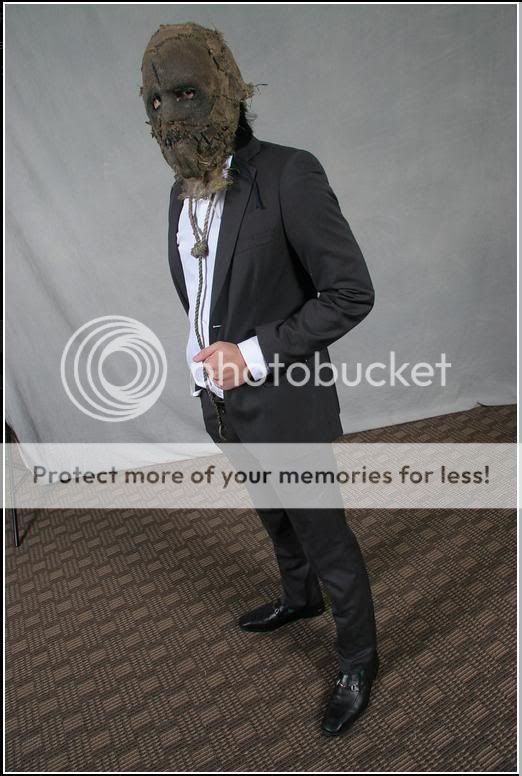
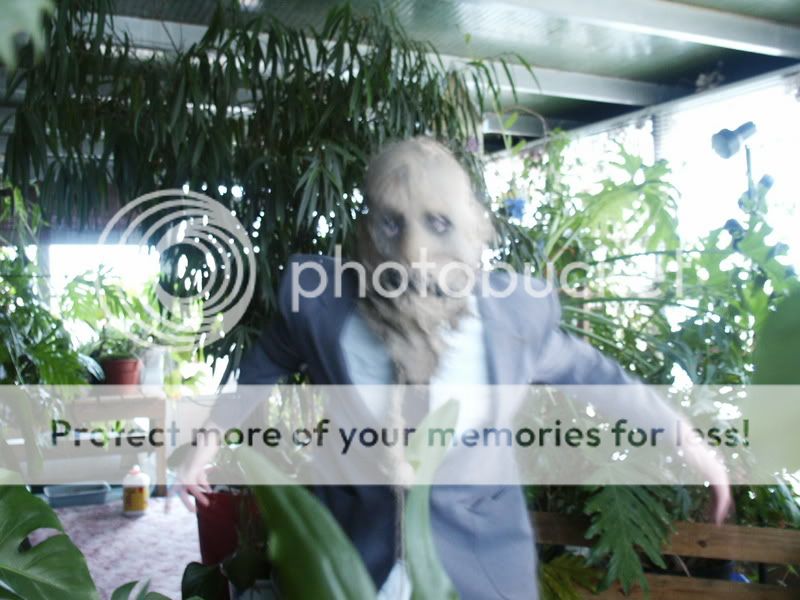
Here's mine, which I wore initially at a horror con in October '05 and then used it for the next Halloween as well, heh.
The burlap is a bit itchy, but not terrible. I also installed a voice changer in the mask to give myself a deeper, raspier sound (it worked..okay, heh) and I turned one of these -
into a fear gas sprayer. I painted it black, replaced the silly string with an aerosal air freshner (my fear gas was pine fresh!), flipped it upside down so that it fired when I clenched my fist instead of the Spidey motion, and slid it up my jacket sleeve.
Wow, brilliant dude. My friends and I are just making our own burlap-sack masks to wear and freak the crap outta people at night. Our inspiration is "The Strangers" movie. lol.
But yeah I'm making mine similar to Scarecrow's.


Thanks for the pics AZSpidey.
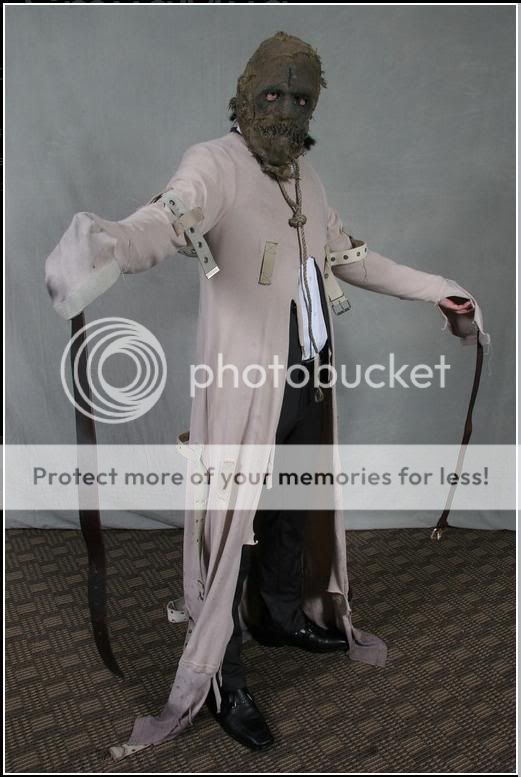
The mask pictured in AZSpideys posts is one that I did a few years back for Begins. I sold them on a few forums and mainly ebay.
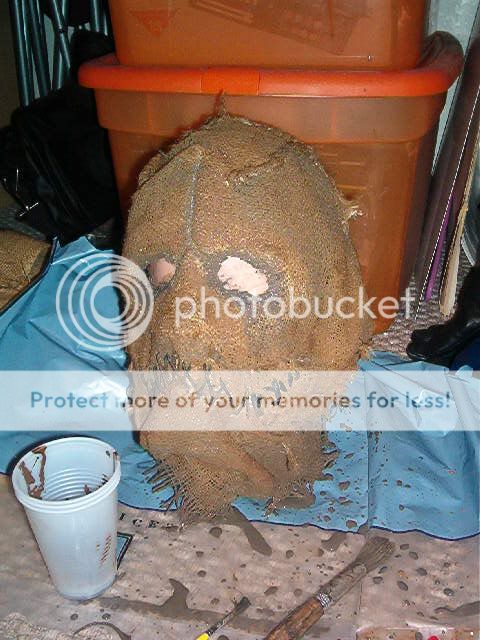
They're made from burlap, twine, rope, thick gauge metal wire, superglue, black and brown acrylic, and square leather laces for the mouth. All materials for these except for the noose rope, can be obtained at walmart (where I got the materials for mine back when).
Takes about 2 days per mask. If anyone is interested, I can post up a tutorial on how to make your own. Here are a few pics for right now.
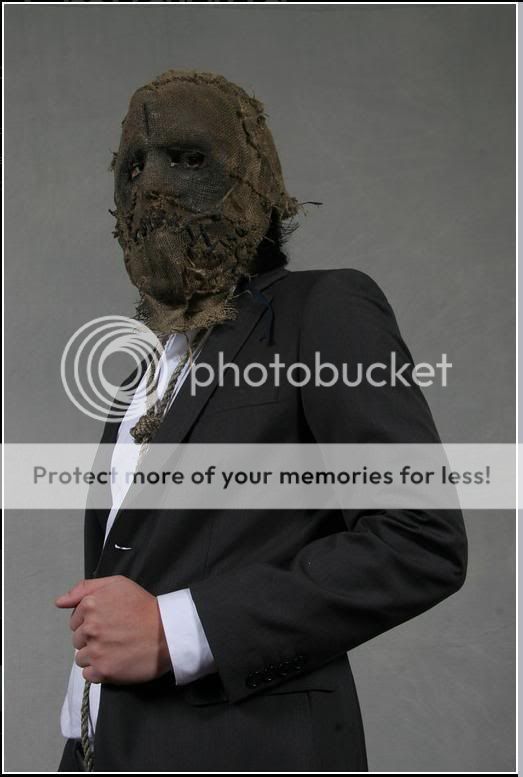
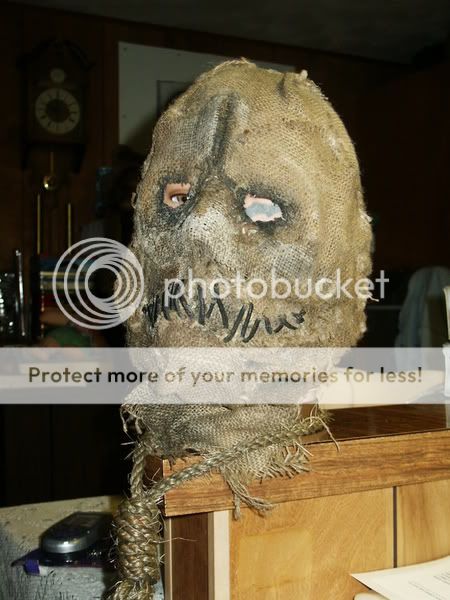
The weathering is indeed acrylic as someone mentioned. I slightly watered down some black and weathered the eyes with that, "painting" it on the burlap directly.
Then with a brush and water I wetted the black outwards giving it the appropriate look. I did that for the brown as well, with a mixture of thick and thin acrylics to get the overall look. Doing that process leaves the entire mask damp so it has to dry overnight, and by the next day the colors have naturally seeped where I wanted them to go. By using different layers of black and brown for everything but the eyes, as well as adjusting how much water, the weathering was controlled (since I was making alot).
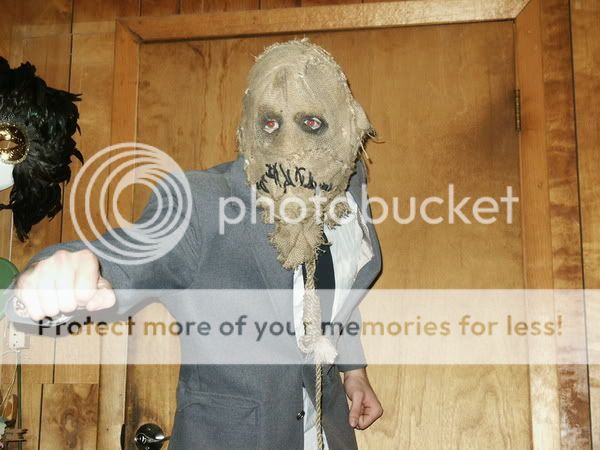
The pics here with the suit top are of the very first mask I did, which I made templates from to make all the others.
Thanks
Tyler


Thank you good sir!I'll get one up in the next couple of days, been super busy working on some other things. Basically throw out all assumptions of how cloth moves, burlap is different. I learned to tinker with it and alter its shape via water, and even superglue. Think further out.
I'll have some more info etc within a few days, thanks for the interest.
Tyler
I'll get one up in the next couple of days, been super busy working on some other things. Basically throw out all assumptions of how cloth moves, burlap is different. I learned to tinker with it and alter its shape via water, and even superglue. Think further out.
I'll have some more info etc within a few days, thanks for the interest.
Tyler
If one of you skilled gentlemen would make me a mask, I would most certainly pay a decent price for it.
Mine was simple, Burlap, Needle and thread (brown thread and black) Hot glue and Cardboard.What exactly would I need to make it?
Thanks for the pics AZSpidey.
The mask pictured in AZSpideys posts is one that I did a few years back for Begins. I sold them on a few forums and mainly ebay.
They're made from burlap, twine, rope, thick gauge metal wire, superglue, black and brown acrylic, and square leather laces for the mouth. All materials for these except for the noose rope, can be obtained at walmart (where I got the materials for mine back when).
Takes about 2 days per mask. If anyone is interested, I can post up a tutorial on how to make your own. Here are a few pics for right now.
The weathering is indeed acrylic as someone mentioned. I slightly watered down some black and weathered the eyes with that, "painting" it on the burlap directly.
Then with a brush and water I wetted the black outwards giving it the appropriate look. I did that for the brown as well, with a mixture of thick and thin acrylics to get the overall look. Doing that process leaves the entire mask damp so it has to dry overnight, and by the next day the colors have naturally seeped where I wanted them to go. By using different layers of black and brown for everything but the eyes, as well as adjusting how much water, the weathering was controlled (since I was making alot).
The pics here with the suit top are of the very first mask I did, which I made templates from to make all the others.
Thanks
Tyler